A Guide to Caring for a Healthy, Reblooming Poinsettia Plant
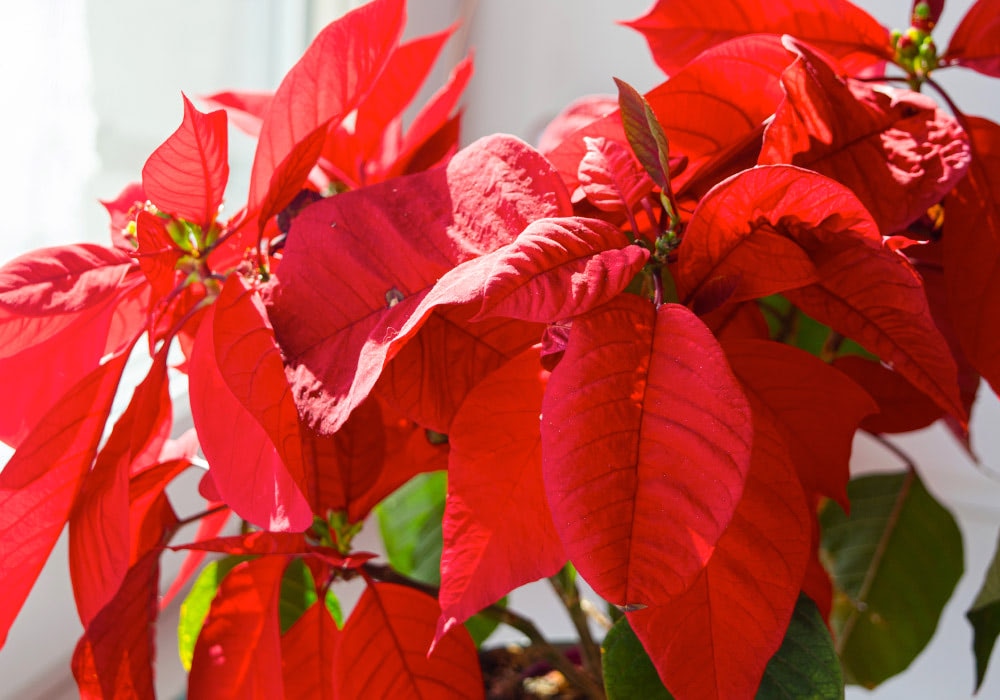
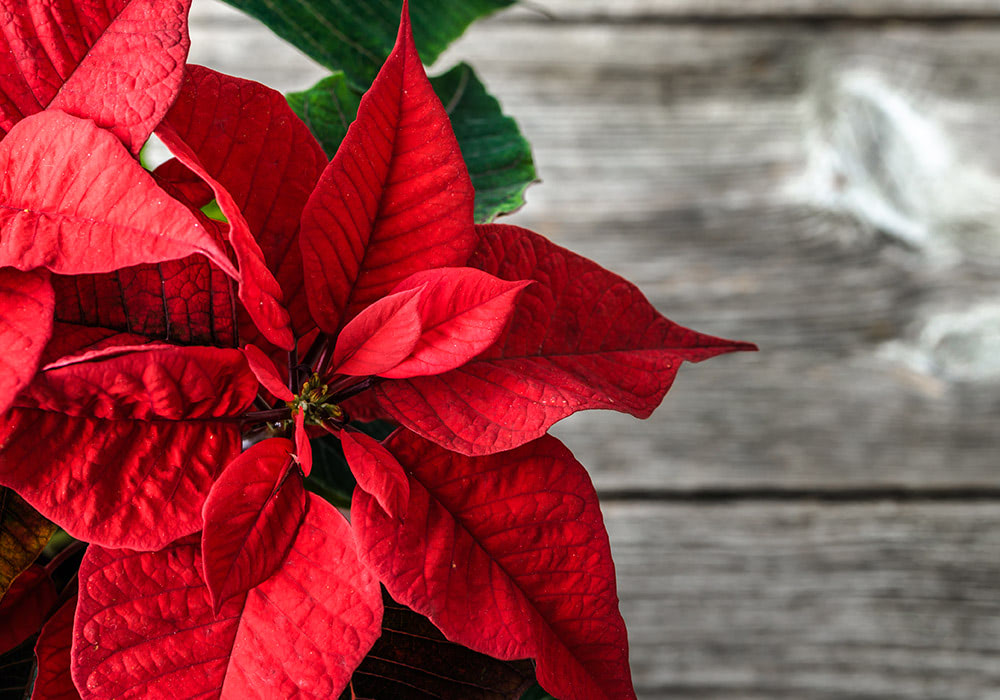
An icon of the Christmas season, poinsettias are stunning flowering plants that commonly bloom in bright, cheerful red and crisp, snowy white. From home decor to spectacular gifts for loved ones and hosts, it can be quite challenging to go through the holiday season without coming across these lush and elegant plants. If you have been gifted a poinsettia or purchased one for your home, it is important to know how to best take care of it during the holiday season. Whether a classic red poinsettia or a white star poinsettia, you can follow these steps to keep this beautiful plant thriving throughout the season of joy.
Displaying Your Poinsettia During the Holidays
Lighting and room temperature are two important factors to consider when choosing the perfect spot to display a poinsettia in your home. Sunny windows are a great choice, especially if facing south, east, or west. However, ensure the windowsill is large enough to support your poinsettia without its leaves and petals touching a cold windowpane. Steady temperatures between 65 and 70 degrees Fahrenheit are ideal for your poinsettia. Temperatures below 60 degrees Fahrenheit put your poinsettia at risk for root rot. It is also important to note any possible hot or cold drafts that might cause premature leaf drop.
Watering Your Poinsettia During the Holidays
Like most plants, it is important to regularly water poinsettias without overwatering, which leads to a lack of sufficient air in the soil resulting in root rot or other plant-damaging diseases. To ensure your plant is ready for a nice drink of water, touch the soil to feel if it is dry. Then, water the soil, not the plant’s leaves, with enough water so it runs out the drainage hole if your pot has one. Never let your plant sit in a saucer that has collected water. Instead, after watering a poinsettia, dump the excess water before putting it back on display. If your poinsettia shows signs of premature wilting, check the soil to see whether it is moist or in need of water. As a rule of thumb, plants that live in low humidity and bright light will require more water than plants living in high humidity and low light spaces.
Preparing Your Poinsettia for Reblooming
While poinsettias can rebloom annually, bringing cheer, joy, and natural beauty into your Christmas and holiday celebrations, they require a full year of TLC. Our plant care experts have created an easy step-by-step guide to walk you through this year-long process. We can’t wait to see your poinsettias flourish each winter.
Supply List
Before jumping in, take note of a few supplies you will need to best support your poinsettia’s reblooming process. Of course, you will need one or two pots, water, soil, fertilizer, and a small gardening shovel. In addition, make sure you have access to a nice, big sunny window or windowsill and something to create a dark space, like blackout curtains, a cardboard box, or a shelved closet.
Step 1: Gradual Drying
Leading up to April 1st, continue watering and displaying your poinsettia as described above. Then, once April begins, allow your poinsettia to dry gradually without letting its stems shrivel. This is a delicate process that requires your attention and a steady watering schedule that slowly diminishes over time. Then, once your poinsettia is dry and its beautiful red flowers have fallen off, store it in a cool, 60 degrees Fahrenheit place that offers steady airflow.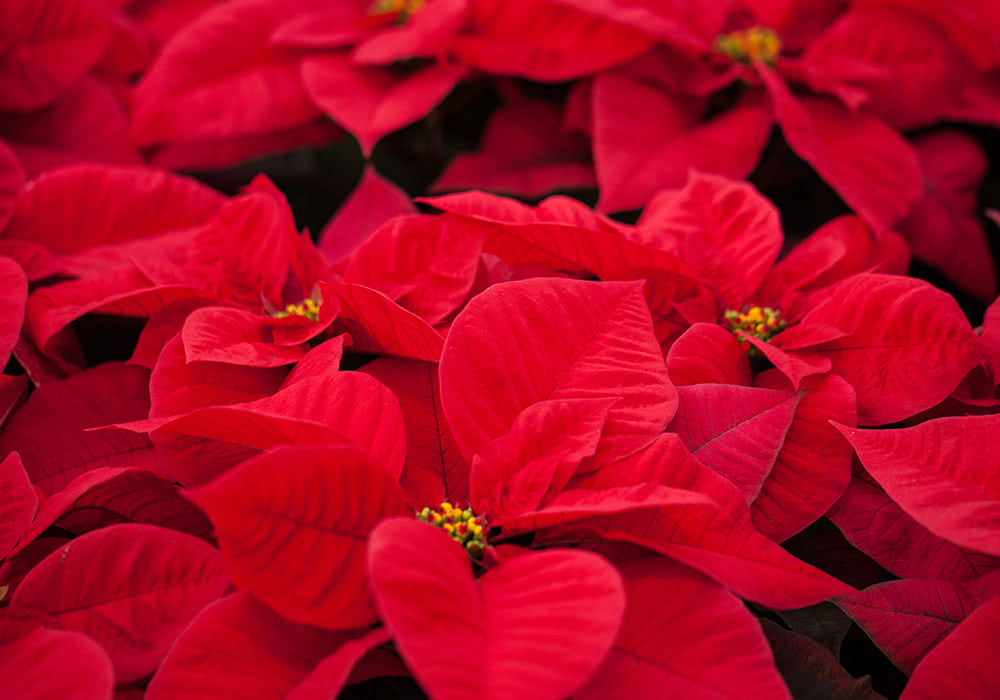
Step 2: Stem Cutting & Repotting
When mid-May hits, it’s time to cut the stems of your poinsettia. Carefully trim each poinsettia stem to be four inches above the soil. Then, refresh the soil for your poinsettia with a potting mix that isn’t too fine or from your garden, which can bring bacteria into the pot. You can either use the same pot for your poinsettia or select a new one an inch or two larger in diameter. Once your poinsettia has been repotted, water it thoroughly. After five minutes, water your poinsettia again and place it in a warm, sunny window of about 65 to 75 degrees Fahrenheit. Continue your watering schedule as usual whenever the soil feels dry to the touch.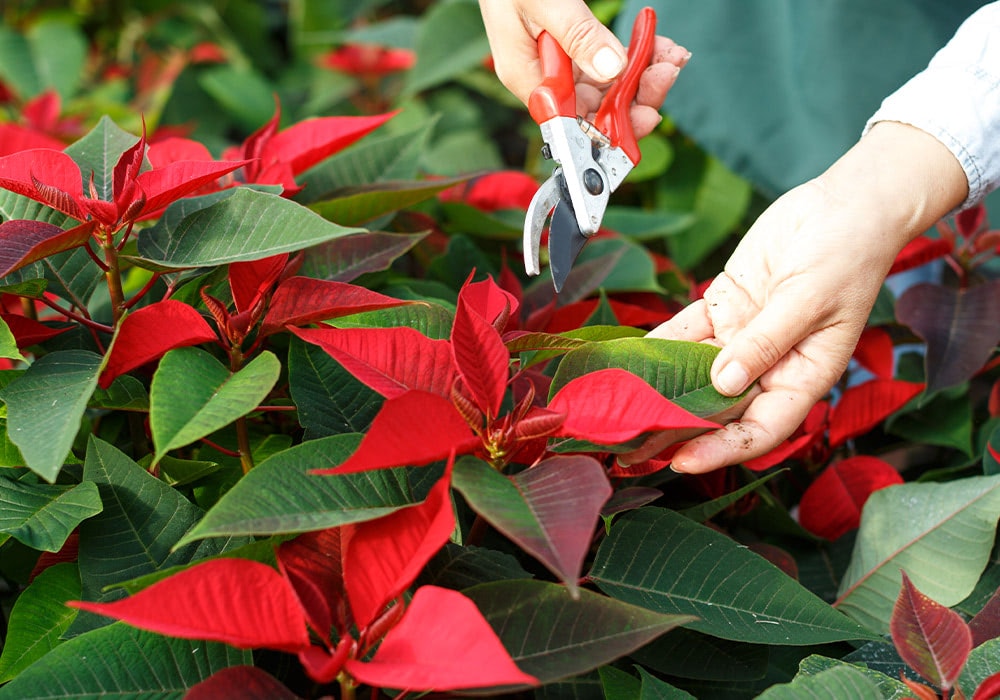
Step 3: Fertilizing
Fertilizing your poinsettia is a crucial part of the reblooming process and can begin as soon as you identify new growth or at the beginning of summer. Create a fertilizing schedule of either every two weeks while following the recommended amount indicated on the fertilizer label or weekly using half the recommended amount or half-strength. Choose a water-soluble fertilizer with a complete analysis, or ask your local florist or greenhouse for great fertilizer recommendations for your poinsettia.
Step 4: Fresh Air & Morning Sunlight
In the early days of June, transition your poinsettia from its warm sunny window to a partially shaded spot outside where it can get plenty of natural morning sunlight. Ensure that your poinsettia avoids direct sunlight in the hot summer afternoons, as this can be harmful to the reblooming process. Stick to your fertilizing and watering schedule while your poinsettia enjoys the fresh summer air.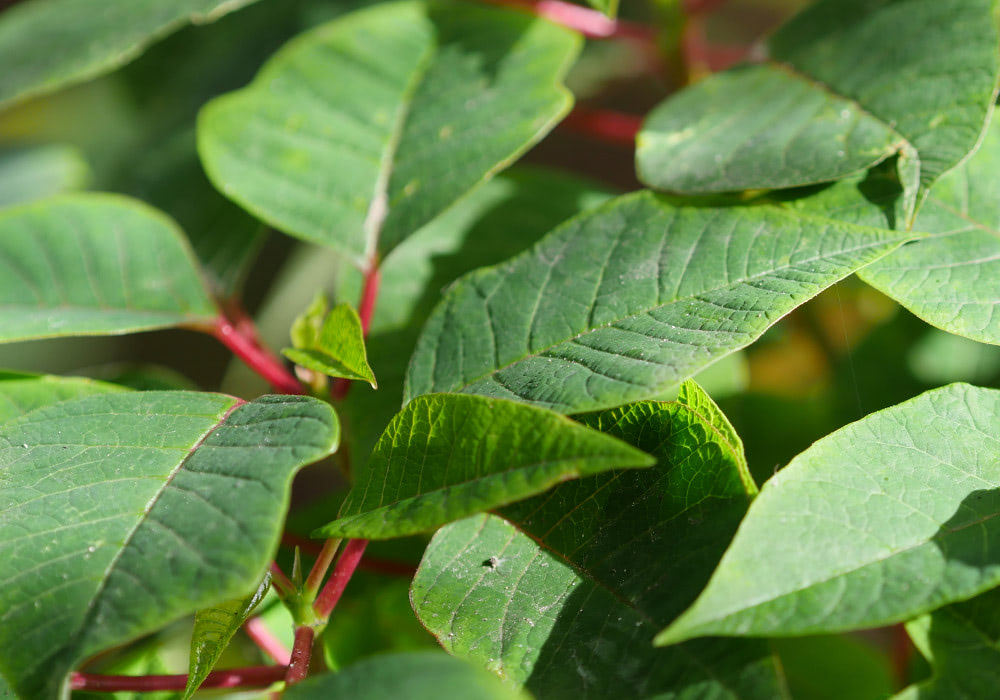
Step 5: Pinching
The start of July is when “pinching” should occur. Pinching is when you remove approximately one inch of terminal growth or the bud located at the tip of the stem, which inhibits further budding on the shoot. You should also pinch your poinsettia between mid-August and the beginning of September with the intention of allowing three to four buds to continue flourishing on each stem. This will ensure that your poinsettia doesn’t bloom too wildly or unsightly. Once your poinsettia has been pinched for the second time, it can make its way back inside to endure the fall season on its sunny windowsill.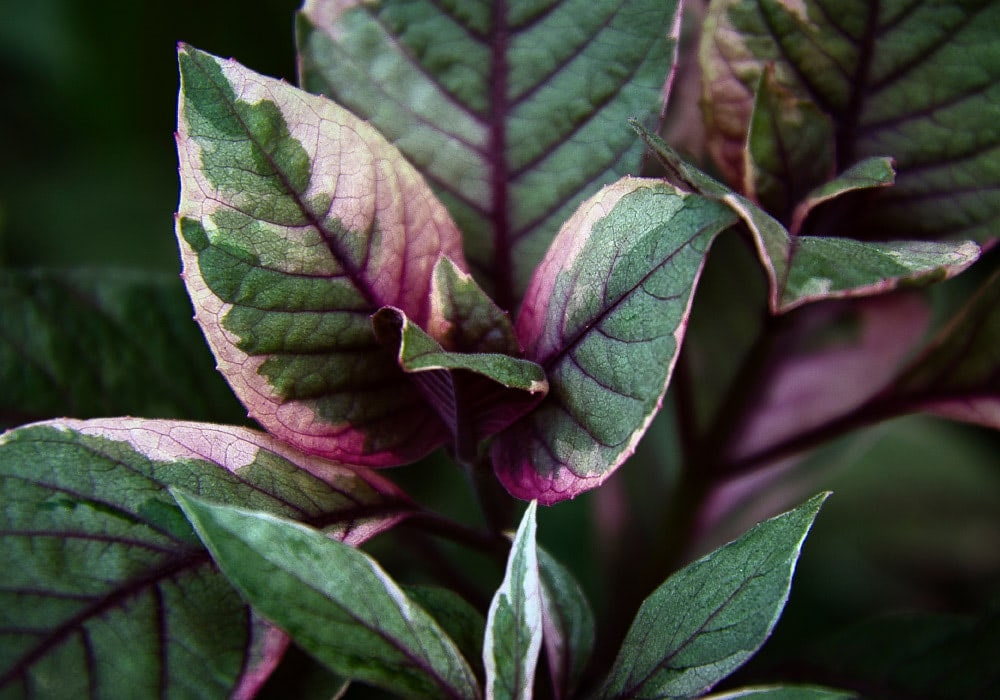
Step 6: Long "Nights"
An interesting fact about poinsettias is that they are “short-day plants.” To be a “short-day plant” means that ten weeks after daylight savings ends, when the sun sets much earlier, poinsettias will finally begin to bloom. If you are hoping to have a beautifully bloomed poinsettia plant during the holiday season, create total darkness between 5 pm and 8 am starting in October. Whether you utilize blackout curtains, a cardboard box, or a closet, it is essential to know that any sort of light exposure during this time will delay blooming. During the fall season and “long nights,” be sure to continue fertilizing, watering, and allowing your poinsettia to enjoy sunlight in the morning and afternoon.